
 Beck’s Toolbox
 Knives
 DIY Build Kits
 Digital Downloads
 Machine Accessories
 Fabricating Materials
CNC Plasma Cutting
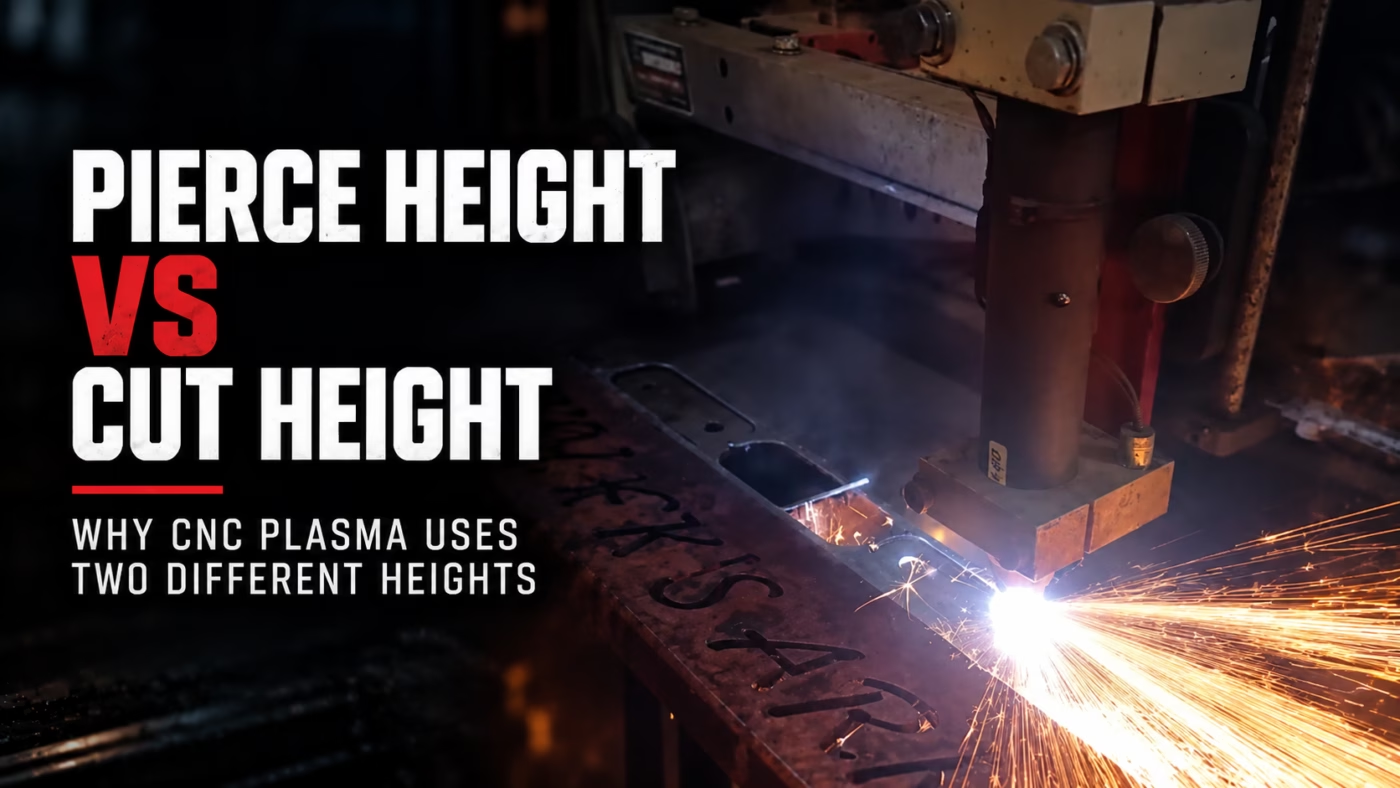
Pierce Height vs Cut Height: Why CNC Plasma Uses Two Different Heights
Sep
Pierce Height vs Cut Height: Why CNC Plasma Uses Two Different Heights
One of the easiest CNC plasma settings to misunderstand is torch height.
The torch does not stay at one fixed distance above the material throughout the entire cutting process.
Instead, a typical plasma cut uses two important heights:
- Pierce height
- Cut height
They serve different purposes.
Pierce height protects the torch while the arc punches through the material.
Cut height positions the torch closer to the plate for the best possible cut.
Understanding the difference makes troubleshooting poor cut quality, excessive bevel, dross, and damaged consumables much easier.
What Is Pierce Height?
Pierce height is the distance between the torch and the material when the plasma arc first starts.
The torch is intentionally positioned higher than the normal cutting height.
Why?
Because piercing is violent.
When the plasma arc first penetrates the material, molten metal is blown upward before the arc completely breaks through the plate.
If the torch is too close, that molten material can be thrown directly back into the nozzle and shield.
That can damage consumables extremely quickly.
The additional distance provided by pierce height gives that molten material more room to escape without being driven directly into the torch.
What Is Cut Height?
Once the arc has completely pierced the material, the torch moves down to its programmed cut height.
Cut height is normally much closer to the workpiece.
At this distance, the plasma arc is concentrated where it needs to be for the actual cut.
Correct cut height helps maintain:
- Consistent kerf width
- Better edge quality
- Reduced bevel
- Stable arc voltage
- Predictable dimensions
- Longer consumable life
The torch should reach the programmed cut height before continuing through the main portion of the toolpath.
Why Not Pierce at Cut Height?
It might seem simpler to use one height for everything.
That would eliminate an extra Z-axis movement.
The problem is that the height that produces a good cut is generally too close to the material for a safe pierce.
During the pierce, molten metal is being forced out of a hole that has not fully formed yet.
Some of that material travels upward.
Piercing too close to the plate increases the chance of molten metal reaching the torch consumables.
This can damage the nozzle opening and quickly change the shape of the plasma arc.
Once the nozzle is damaged, cut quality can deteriorate even if every other machine setting is correct.
Why Not Cut at Pierce Height?
The opposite approach does not work well either.
If you leave the torch at the higher pierce height after the arc has broken through, the torch is farther from the material than intended.
That can contribute to:
- Increased bevel
- Wider kerf
- Poor edge quality
- Unstable arc behavior
- Dimensional inconsistency
- Excessive THC correction
Pierce height protects the torch.
Cut height produces the cut.
They are different because they are solving two different problems.
The Basic Cutting Sequence
A normal CNC plasma cut looks something like this:
- Move the torch to the programmed starting location.
- Find the material surface.
- Raise the torch to the programmed pierce height.
- Fire the plasma arc.
- Wait for the pierce to completely penetrate the material.
- Move the torch down to cut height.
- Begin or continue the programmed cut.
- Allow THC to make height corrections during the cut when appropriate.
The exact sequence varies depending on the machine, plasma cutter, CAM software, and control system, but the basic idea remains the same.
Finding the Material Surface Comes First
Pierce height and cut height are only useful if the machine knows where the material actually is.
That is why initial height sensing happens before the torch fires.
On the CrossFire system, the floating Z-axis allows the torch to contact the material and establish its actual surface before the machine sets pierce height.
I covered that process in How the Floating Z-Axis Sets Torch Height on a CNC Plasma Table. How the Floating Z-Axis Sets Torch Height on a CNC Plasma Table
If the initial material reference is wrong, both pierce height and cut height can be wrong from the beginning.
Pierce Delay Matters Too
The torch should not immediately start moving horizontally the instant the plasma arc fires.
It takes time for the arc to penetrate the material.
That time is the pierce delay.
If the machine begins moving before the arc has completely pierced through the plate, the torch can drag the unfinished pierce into the beginning of the cut.
This can create:
- A damaged lead-in
- Excessive dross
- A large divot at the start of the cut
- Poor edge quality
- An arc that fails to fully penetrate the material
Thicker material generally requires more time to pierce than thin material.
Use the plasma-cutter manufacturer’s cut chart as the starting point for pierce height, pierce delay, amperage, speed, and cut height.
Too Low at Pierce Height
If the torch begins the pierce too close to the material, you may see:
- Molten material hitting the torch
- Heavy buildup on the shield
- Rapid nozzle damage
- Consumables failing prematurely
- Inconsistent arc starts
If you are destroying consumables during piercing, verify the actual pierce height before changing unrelated settings.
Remember that the programmed number is only useful if the machine’s Z-axis reference is correct.
Too High at Pierce Height
Piercing too high creates a different set of problems.
The arc may have difficulty transferring properly to the material or may be excessively stretched before the pierce begins.
Depending on the plasma system and material, this can result in:
- Failed starts
- Unreliable piercing
- Excessive arc time before penetration
- Poor pierce quality
The goal is not simply to get as far away from the plate as possible.
Use the recommended pierce height for the plasma system and material being cut.
What Happens When Cut Height Is Too High?
If the torch runs too high during the actual cut, the plasma arc becomes longer.
That can contribute to:
- Increased edge bevel
- Wider kerf
- Poor dimensional accuracy
- Reduced cut quality
- THC constantly trying to move the torch downward
If the problem occurs everywhere on the table, verify your programmed cut height and voltage settings.
If it occurs only in certain areas, look for a mechanical problem such as torch-lead tension or material movement.
What Happens When Cut Height Is Too Low?
Running too close to the plate can also cause problems.
Possible symptoms include:
- Torch contact with warped material
- Increased risk of crashing into tipped parts
- Poor edge quality
- Excessive material buildup around the torch
- Damaged consumables
The torch needs to be close enough for good arc performance without physically contacting the workpiece.
Torch Lead Routing Can Change the Actual Height
A programmed cut height assumes the mechanical Z-axis is actually where the controller thinks it is.
If the torch lead becomes tight and begins lifting the floating Z-axis, that assumption is no longer true.
You can have the correct pierce-height and cut-height numbers in the software while the torch is physically in the wrong position.
This is why I recommend checking torch-lead slack across the entire cutting area.
The full explanation is in Why Torch Lead Routing Matters on a CNC Plasma Table. Why Torch Lead Routing Matters on a CNC Plasma Table
Torch Height and Torch Squareness Are Different
Correct height does not guarantee a good cut if the torch is leaning.
Cut height controls the distance between the torch and material.
Torch squareness controls the angle of the torch relative to the material.
An out-of-square torch can create different bevel angles on opposite sides of the part even when the torch height is correct.
Before spending hours changing cut-height settings to correct uneven bevel, make sure the Z-axis is properly trammed.
See CNC Plasma Torch Squareness Matters for Cut Quality for the CrossFire Pro adjustment process. CNC Plasma Torch Squareness Matters for Cut Quality
The Torch Must Stay Secure in the Holder
The controller can accurately position the Z-axis, but it cannot compensate for a torch that physically slides inside its holder.
If the torch slips downward after initial height sensing, the actual cut height becomes lower than expected.
If it slides upward, the actual height becomes greater.
This is one reason a properly fitted torch holder matters.
The Beck Tools holder uses a closely matched full-radius clamping surface to provide more contact around the torch body rather than relying on a few small contact points.
For more information, see Why Full-Radius Clamping Holds a CNC Plasma Torch Better. Why Full-Radius Clamping Holds a CNC Plasma Torch Better
Where THC Fits Into the Process
Torch Height Control becomes important after the cut begins.
Once the plasma arc is established, THC uses arc voltage as a way to monitor the torch-to-work distance.
If the material rises or falls, the voltage changes.
The controller can then move the Z-axis to compensate.
THC is extremely useful for warped sheet and large parts, but it does not eliminate the need for correct initial height sensing.
THC should be making relatively small corrections around a mechanically correct starting point.
It should not be fighting:
- A torch lead pulling on the Z-axis
- A torch slipping in the holder
- Incorrect initial height sensing
- A badly trammed Z-axis
Mechanical setup comes first.
Use the Manufacturer’s Cut Chart
There is no single universal pierce height or cut height that works for every plasma cutter.
The correct settings depend on:
- Plasma-cutter model
- Torch
- Consumables
- Material type
- Material thickness
- Amperage
Start with the manufacturer’s recommended cut chart.
Those numbers give you a known baseline before you begin troubleshooting or fine-tuning the process.
Do not copy settings from another machine simply because it is cutting the same thickness material.
A Simple Troubleshooting Order
If torch height appears wrong, check the system in this order:
- Verify the material thickness and correct cut chart.
- Verify the programmed pierce height.
- Verify the programmed cut height.
- Verify the pierce delay.
- Confirm the floating Z-axis moves freely.
- Check torch-lead slack across the entire table.
- Verify the torch cannot slide in its holder.
- Confirm the Z-axis is properly trammed.
- Then investigate THC voltage and tuning.
This prevents a mechanical problem from turning into hours of unnecessary software adjustments.
Final Thoughts
Pierce height and cut height should not be treated as interchangeable settings.
Pierce height protects the torch while the arc breaks through the material.
Cut height positions the torch where it needs to be for consistent cutting.
For either setting to work correctly, the machine also needs an accurate material reference, a freely moving Z-axis, proper torch-lead routing, and a torch that remains securely mounted.
Get the mechanical setup right first.
Then the programmed heights and THC can do the jobs they were designed to do.
